
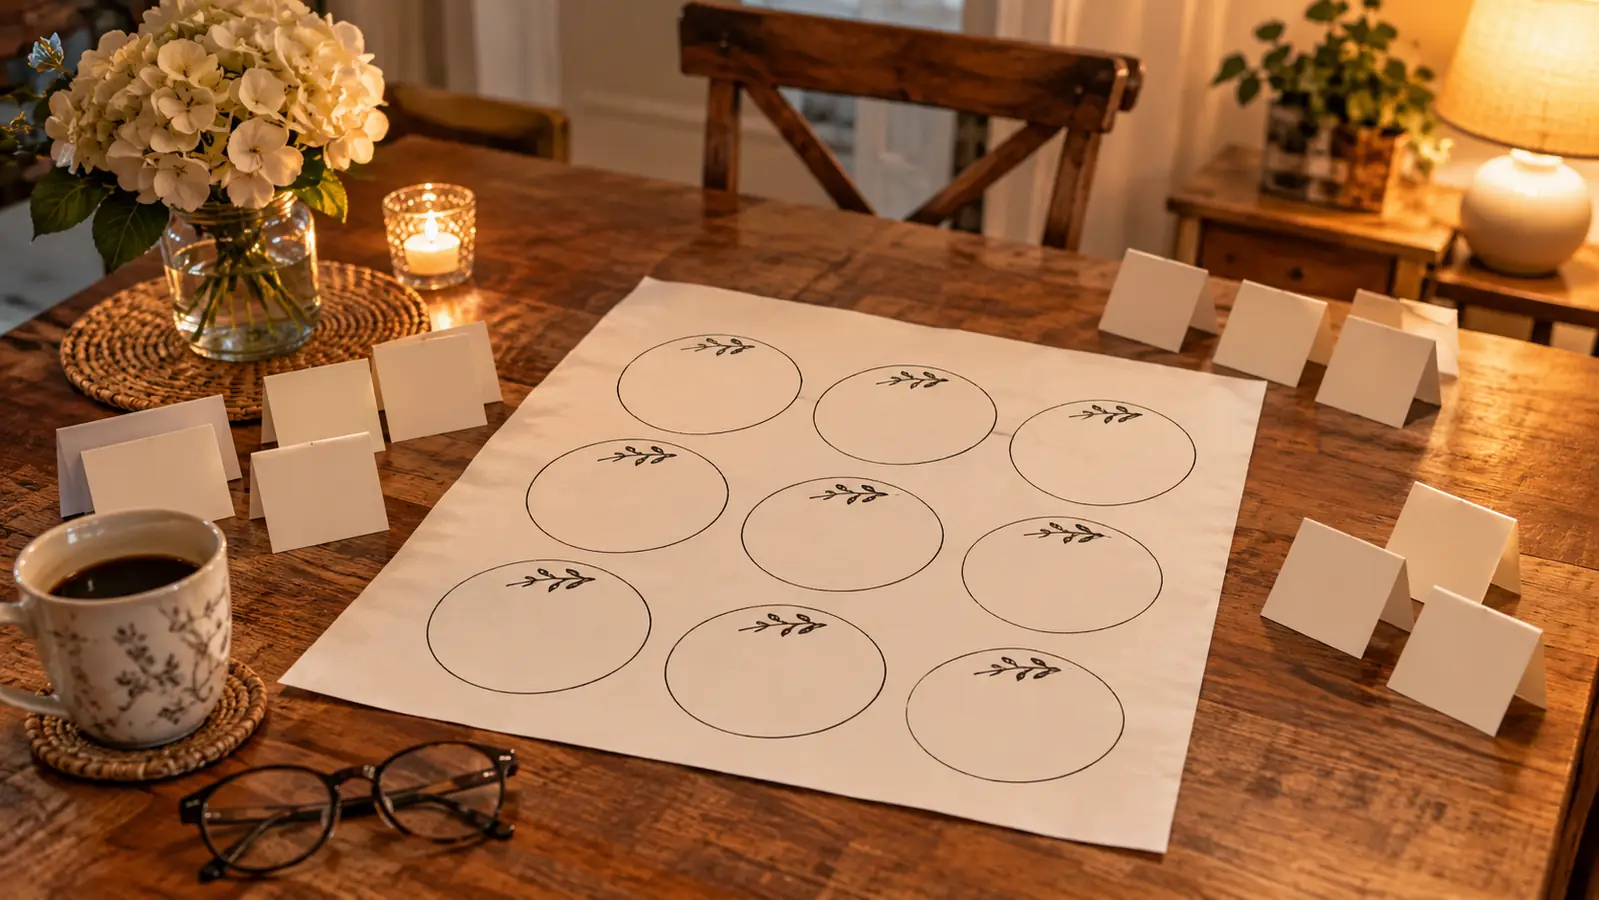
The seating chart took more out of me than anything else, and it was not the flowers or the dress or the flight to Albuquerque that did it. It was nine round tables of eight, a list of 72 names and two brothers with opinions about where they sat.
I am not a planner. I am Colette Marchand, 56, retired from the front office of a Savannah elementary school, and I planned exactly one wedding: my daughter Elise's, on Saturday, June 13, at a small inn outside Santa Fe. Nobody paid me to do this and nobody should. What I did have was a binder on the kitchen table, a shoebox of Toncoo place cards in my suitcase, and two free evenings in May. That was enough. Here is the order I would do it in again.
The cards that made the last week quiet
120 tent cards with a gold foil border, 3.5 by 2 inches folded, hand-written over two evenings. Ours sat in a shoebox and travelled flat.
Amazon Check Today's Price on Amazon →Step 1: Settle the guest list before you draw a single circle
This sounds obvious and it is the step most people skip. Do not start sketching tables until you have a count. Ours was 72 from the first count and it never changed.
The rule I made for myself was simple: no seating work until the count was written down. I put it at the top of a page in the binder and dated it. Seventy-two guests. That number stayed put through June, and every decision after it got easier because I was solving for a fixed problem instead of a moving one.
Get your venue's real numbers too, not the ones in your head, and get them in writing rather than from memory. I asked for the table size and the room's dimensions and kept the answer on the same page as the guest count. Ours was nine round tables that seat eight, which gives 72 seats and no slack. Knowing that ceiling kept the list honest. A room has a limit. Find out where yours is before you fall in love with a list.
Step 2: Build the must-sit-together groups, not the table assignments
Here is the shift in thinking that saved me. Do not start by placing people at tables. Start by naming the groups that cannot be split, and let them be uneven. A family of four is a group. A pair of college friends is a group. Your mother's three sisters are a group, and heaven help you if you separate them.
I wrote every group on a sticky note, one note per group, with the head count written large in the corner. Then I laid the notes on the kitchen table and physically dealt them into nine piles. Moving a sticky note is faster and less emotional than moving a name on a list, and a pile of notes gives you an honest look at what you are working with. When four groups of five landed in the same pile, I could see the problem instead of feeling it.
The first deal took me about forty minutes, and then I went back over it. If one pile is stacked too high and others have empty seats, that is the arithmetic telling you to stop being sentimental. Pull the family groups apart by household instead of by side of the family, and the piles settle quickly. Do that first deal on a weeknight when you are not tired, because a tired deal produces a plan you will end up redoing.
Deal the easy groups first. Family you have no choice about, the wedding party, the people who travelled. Then deal the flexible ones. Leave one table until last so you have somewhere to put the awkward pairs, and there are always awkward pairs.
Step 3: Place the people who need protecting
Most seating advice is about who should sit together. The more useful question is who needs to be comfortable, and there are usually five or six of them. The aunt who knows nobody but you. The friend who is recently divorced and arriving alone. The grandfather who cannot hear in a loud room. The colleague from work who will otherwise spend the evening with strangers.
I put those people on the inside of the room, near the middle, with the loudest and warmest tablemates I could find. The extroverts are your shock absorbers. Sit a quiet guest next to a talker and your work is done for the evening. Sit two quiet guests together in a corner and you will spend the reception watching them look at their phones.
The other thing I did was keep the head table simple. Elise and Ben sat with the wedding party at one round table, and Paul and I sat at another with two couples who had flown in from Georgia. Paul's brothers and their wives took table four, the one nearest the door. That was the April disagreement, incidentally, and it was settled at my kitchen table over most of a Sunday afternoon. I would advise settling anything like it in April rather than June.
Two evenings at the kitchen table, and the seating was done
Hand-written names on a folded card read warmer than anything a printer will produce, and you can fix a misspelling with a fresh card.
Amazon Check Today's Price on Amazon →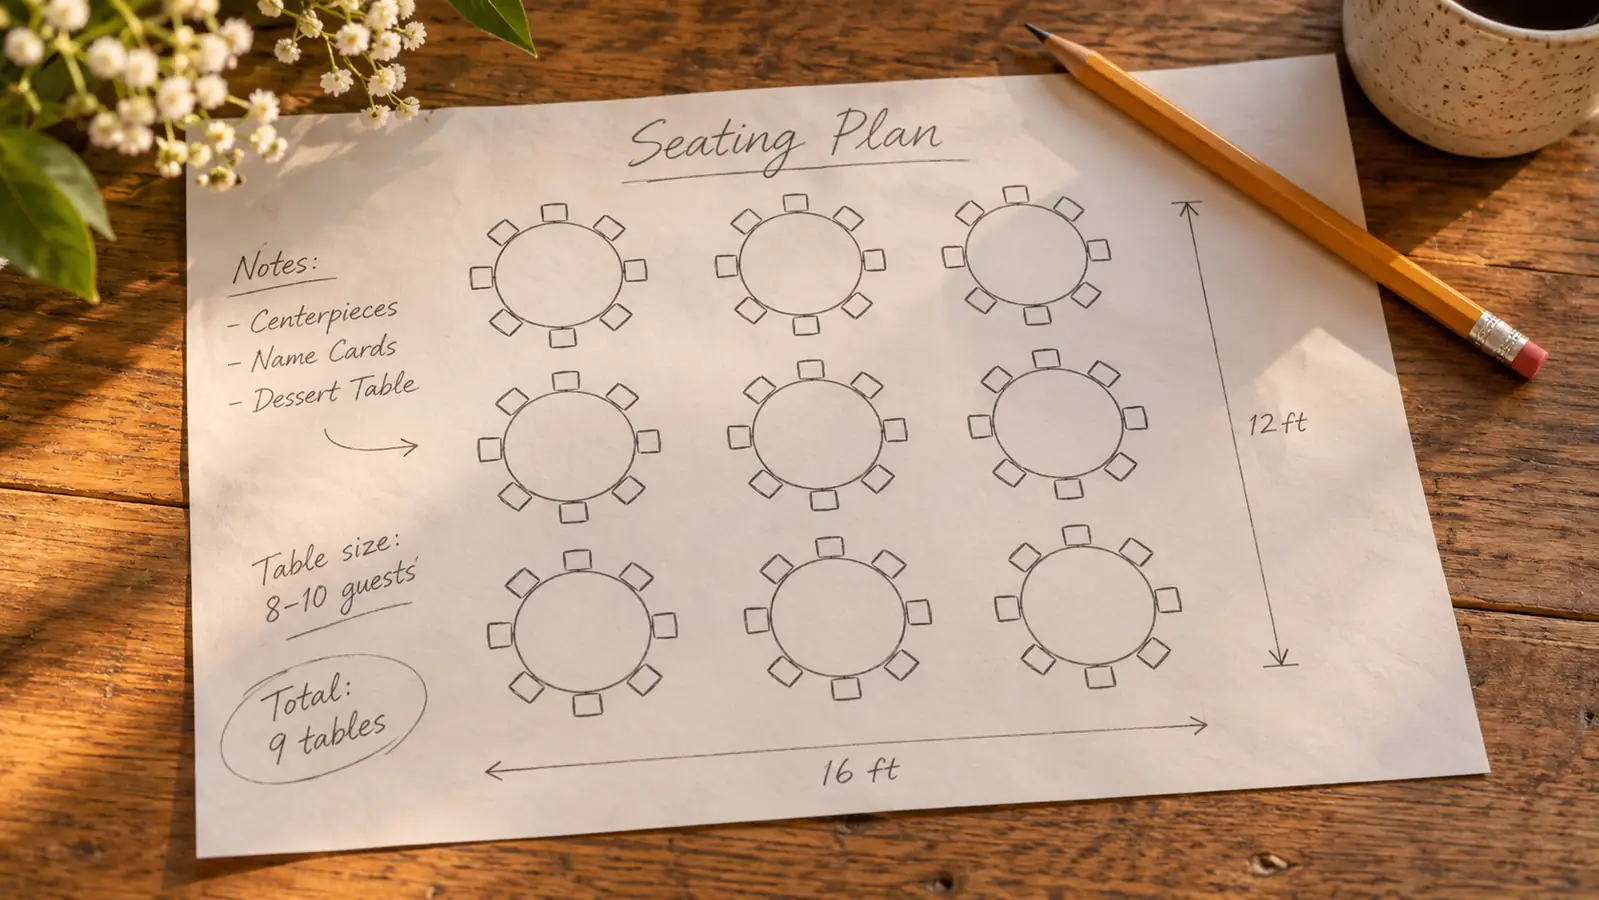
Step 4: Do the double-check pass that catches the quiet problems
Once the piles were dealt, I copied the whole plan into the binder in pencil, table by table, and then did a pass I would recommend to anyone. I read each table out loud and asked three questions about it. Can these eight people hold a conversation for three hours? Is anyone at this table unable to see or hear the room? And is there anyone here who has no one to talk to if the person beside them gets up?
Reading it aloud is the part that works. Silent reading lets you skim past the table where you have put two people who do not get along. Saying the names in order makes you hear it. I moved a few people after that pass and the plan stayed settled.
One more thing on that pass: check the doors, not just the names. Walk the room plan with your finger and see which chairs will have a server passing behind them all evening, then put guests there who will not notice a thing. It takes a few minutes and it costs nothing.
One practical note on children. We had four under the age of ten, and we put them in adjacent seats near their parents rather than at a children's table. A children's table sounds charming in a magazine and turns into a small riot at a wedding with music going. Put the parents within arm's reach.
Step 5: Write the cards last, and write them by hand
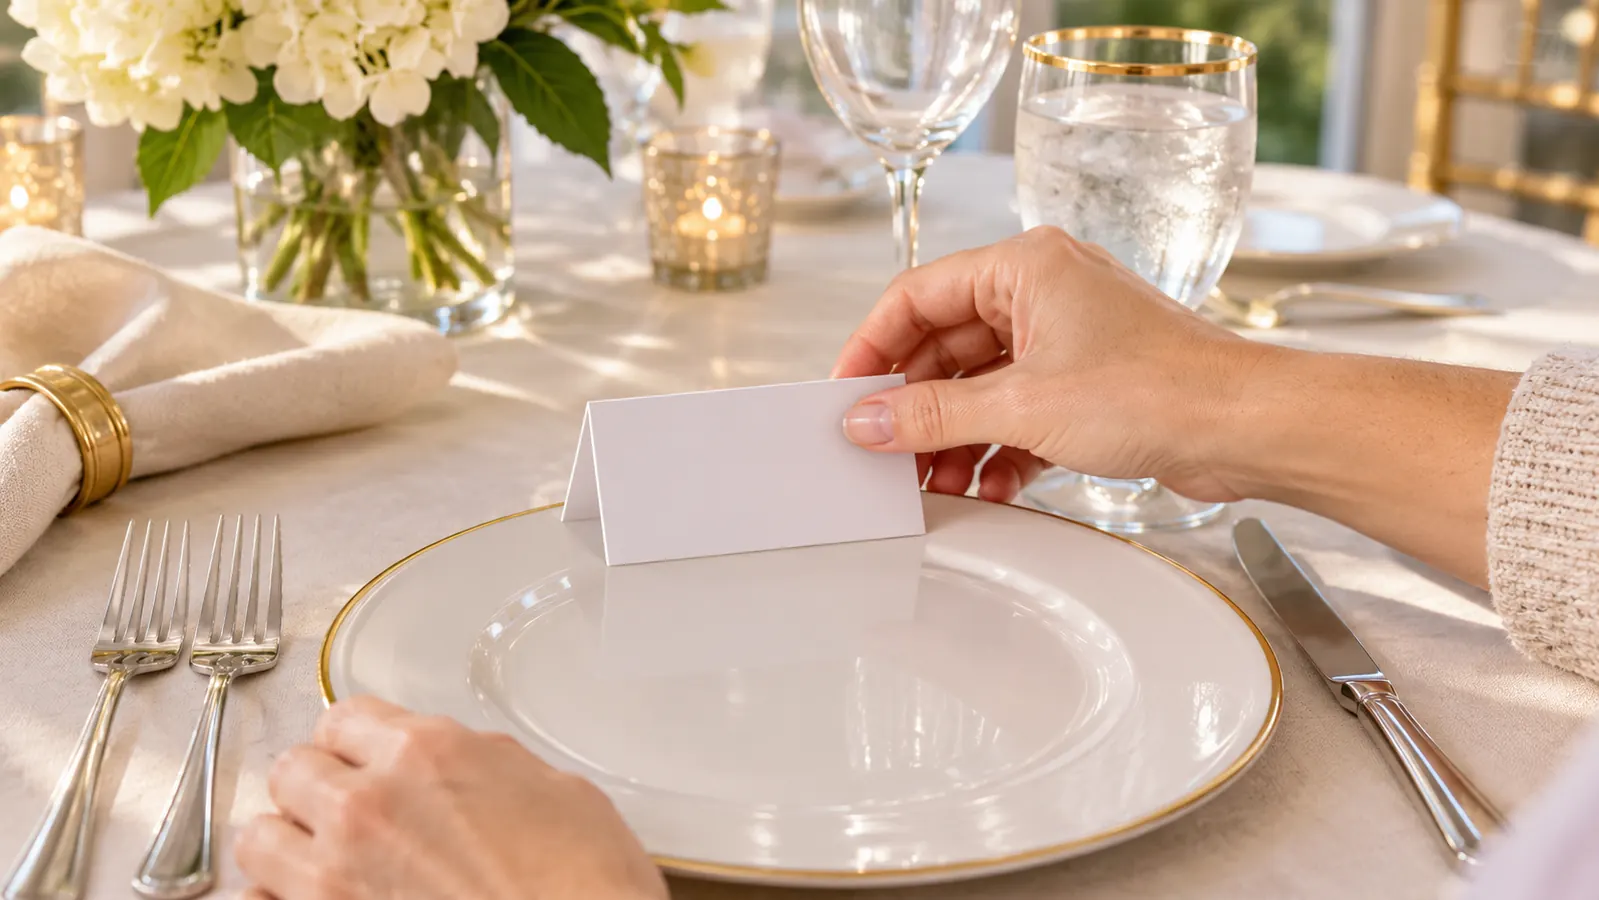
This is where the Toncoo cards come in, and this is the step I would not rush. I bought them in April, a pack of 120 with a gold foil border, tent folded, 3.5 by 2 inches. They arrived flat, which matters more than you would think, because flat cards lie neatly in a shoebox and folded ones turn into a pile of little tents that crush each other in a suitcase.
I wrote 72 names over two evenings in May at the kitchen table, black fine-point pen, one card per guest, first and last name for the adults and first name only for the children. I wrote them in table order, so I finished a table and set the cards in a stack with a slip of paper on top. Then I checked every stack against the binder before it went in the box. If you write all 72 in one sitting your handwriting starts to slide around card 50, and a guest will notice. Two evenings is the right pace, and it gives you a reason to stop before your hand cramps.
The Toncoo cards also survived the trip better than I expected. I wrote them in Savannah in May, packed them flat in the shoebox, flew them to Albuquerque in my suitcase on Wednesday, June 10, and unpacked them at the inn that afternoon. Not one was bent and not one name smudged, because a fine-point pen on this card stock dries quickly. If you are writing on a card with a slicker finish, test one before you commit. I tested one spare before I sat down to the 72.
The gold foil border does the work for you. A plain white card with a name on it looks like a place setting at a conference. The foil edge makes it look like someone thought about it, and it cost me very little to have that. We used the leftover cards for the dessert table, and the rest are still in the pack in my hall closet.
On the day, cards go down after the room is set and before the doors open. I laid ours out myself, checking each one against the seating page in the binder. It took about twenty minutes. Do not delegate this to a cousin who has not seen the plan, because a single misplaced card means one guest standing in the middle of the room holding it, and you will be the one they come to find.
Read each table out loud, names in order. Silent reading lets you skim past the two people who do not get along. Saying it out loud makes you hear it.
What Else Helps
Have a plan for the cards after the reception. People take them, and that is fine, but if you want to keep them, gather them yourself at the end of the night rather than asking a guest to do it. Elise kept a handful, and the unused cards are still in their pack in my hall closet.
Label more than the tables. We used a few leftover cards on the dessert table, and it saved people from asking what was what. Any card you do not use for a guest can earn its keep this way.
Keep a second pen on the table if it makes you feel better, though one did the job for me. And if you are travelling to the wedding, pack the cards flat in a hard box in your suitcase, which is exactly what I did with a shoebox, and nothing in that box was damaged in two flights and a rental car.
If you are still deciding between card styles, my advice is simple. Place cards go on the plate and tell a guest where to sit. Escort cards go on a table by the door and tell a guest which table is theirs. We used place cards because our room was small and we wanted people to walk in and find their seat without a queue at the door. Larger rooms with more tables often work better with escort cards, and there is no wrong answer if the room is set up for it.
Settle the seating, then go enjoy your own reception
A pack of 120 tent cards, gold foil border, hand-written and checked against the plan. That was the whole system, and it worked.
Amazon Check Today's Price on Amazon →